[무료] 스프링 입문 - 코드로 배우는 스프링 부트, 웹 MVC, DB 접근 기술 - 인프런 | 강의
스프링 입문자가 예제를 만들어가면서 스프링 웹 애플리케이션 개발 전반을 빠르게 학습할 수 있습니다., - 강의 소개 | 인프런...
www.inflearn.com
김영한님의 인프런 스프링 입문 - 코드로 배우는 스프링 부트 강의를 듣고 정리한 공부목적의 글입니다.
프로젝트 환경설정
1. 프로젝트 생성
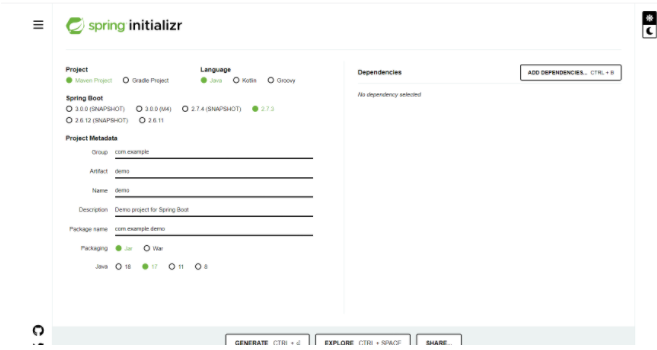
Maven
Gradle
과거에는 메이븐을 많이 썼는데 요즘은 그레들로 넘어오는 추세
레거시코드느 메이븐이긴한데
이왕이면 그레들로 하는 것을 추천한다.
실무에서도 그레들로 한다.
스냅샷은 아직 만들고 있는 중이다.
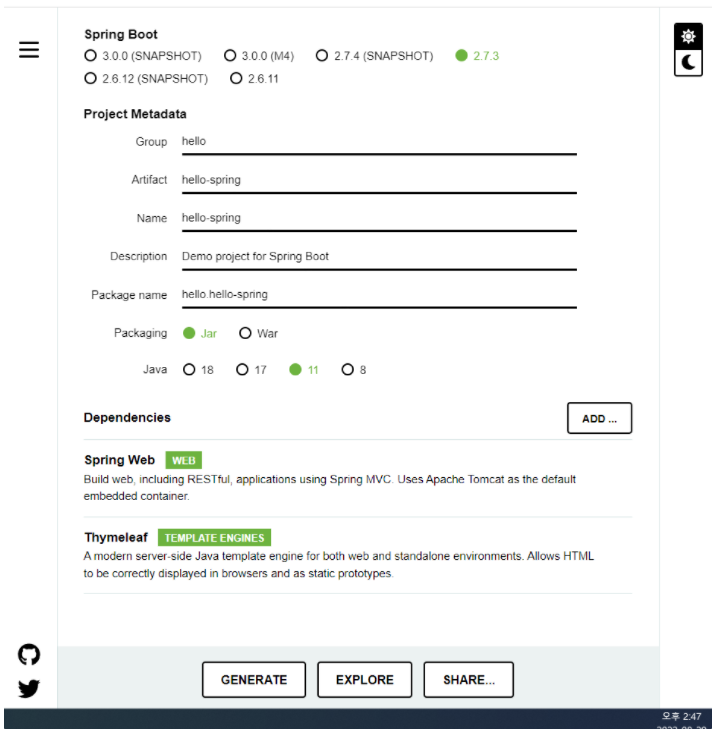
maven : pom.xml
gradle : build.gradle
maven의 설정은 XML로 기재된 '문서' 이므로 정적입니다.
gradle의 설정은 groovy or kotlin 으로 작성된 스크립트입니다. 그러므로 동적입니다.

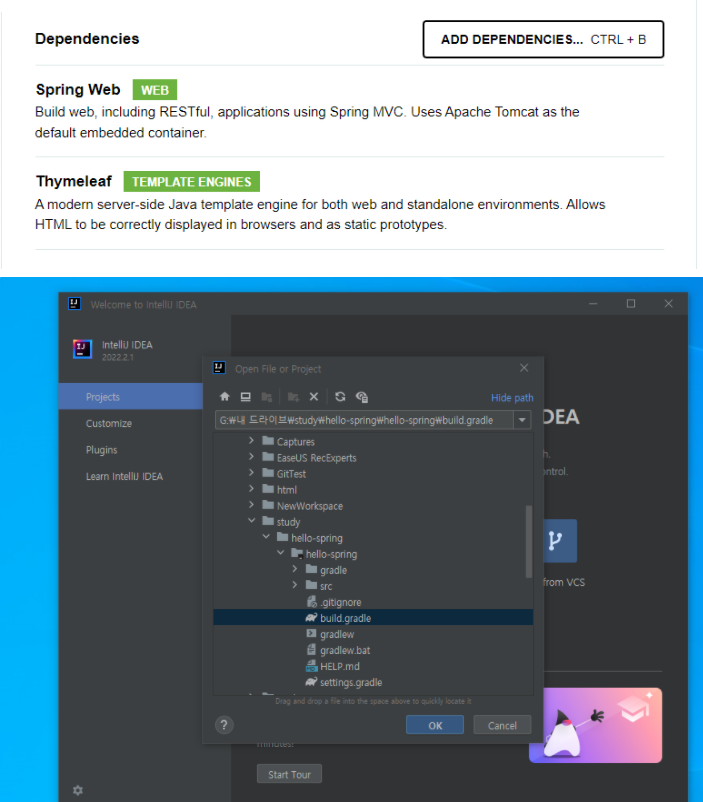
아까 다운받은거!
실행해보기!

A JNI error has occurred, please check your installation and try again
라고 오류가 계속 뜬다.
기존 JDK가 1.8.0이였는데 그것때문에 버전이 맞지 않았나보다.
인텔리제이 내에서 11을 잡을 수 있도록 설정을 했는데도 오류가 나서 그냥 18을 삭제해버렸다
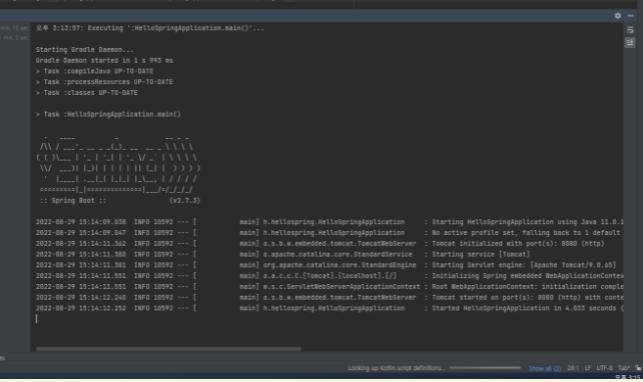

아무것도 없기 때무에 에러나는게 정상이다.
실행 꺼버리면
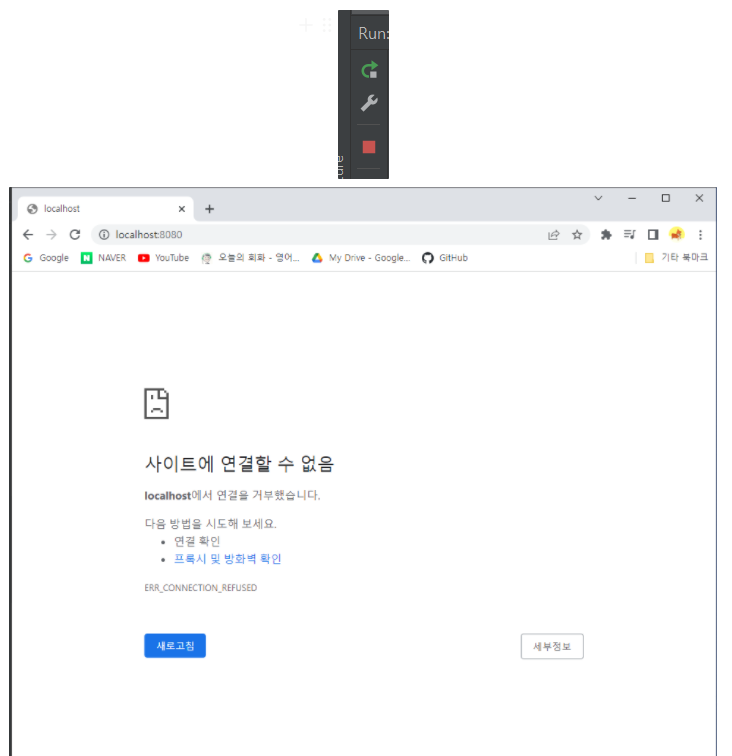
요렇게 나온다.
그런데 멈추니까
Execution failed for task ':HelloSpringApplication.main()'.
> Build cancelled while executing task ':HelloSpringApplication.main()'

* Try:
> Run with --stacktrace option to get the stack trace.
> Run with --info or --debug option to get more log output.
> Run with --scan to get full insights.
라는 오류가 뜬다.

원인은 환경문제다.
intelliJ 관련 질문이 있습니다! - 인프런 | 질문 & 답변
gradle로 실행하게 했을 경우 발생하는 문제!
인텔리제이로 바꾸고 껐다가 키니 다시 정상적으로 종료된다
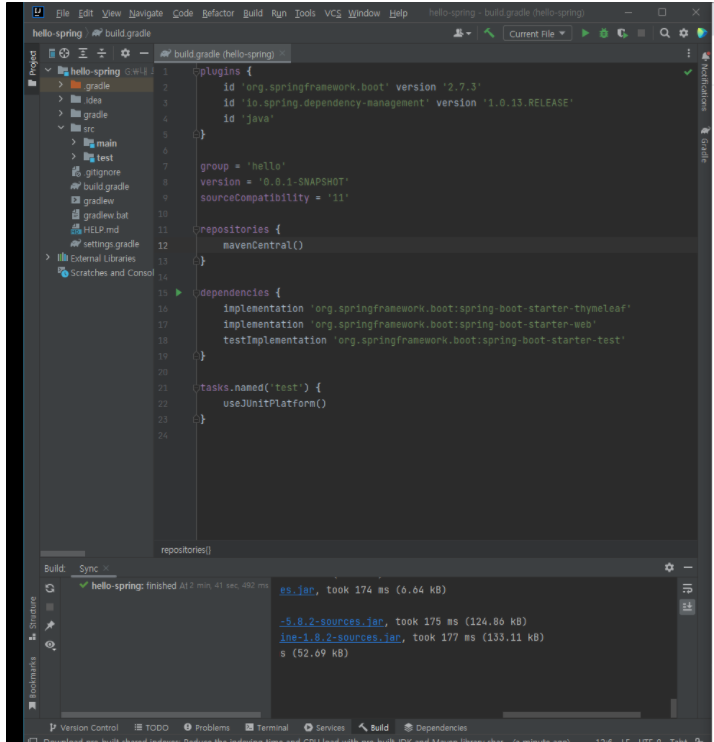
2.라이브러리 살펴보기

요즘에는 이정도로 기본적으로 땡기고 시작해야한다.
그레들이나 메이븐같은 툴들은 다 의존관계를 관리해준다.
3.View 환경설정
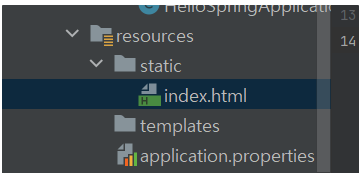
wellcome page 만들기
<!doctype html>
<html lang="en">
<head>
    <meta charset="UTF-8">
    <meta name="viewport"
          content="width=device-width, user-scalable=no, initial-scale=1.0, maximum-scale=1.0, minimum-scale=1.0">
    <meta http-equiv="X-UA-Compatible" content="ie=edge">
    <title>Document</title>
</head>
<body>
Hello
<a href="/hello">hello</a>
</body>
</html>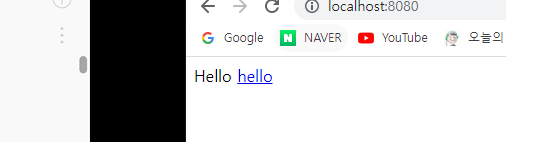
-
스프링 부트가 제공하는 Welcome Page 기능이 있다.
static/index.html 을 올려두면 Welcome page 기능을 제공한다.
https://docs.spring.io/spring-boot/docs/2.3.1.RELEASE/reference/html/spring-bootfeatures.
html#boot-features-spring-mvc-welcome-page
thymeleaf 템플릿 엔진
thymeleaf 공식 사이트: https://www.thymeleaf.org/
스프링 공식 튜토리얼: https://spring.io/guides/gs/serving-web-content/
스프링부트 메뉴얼: https://docs.spring.io/spring-boot/docs/2.3.1.RELEASE/reference/
html/spring-boot-features.html#boot-features-spring-mvc-template-engines
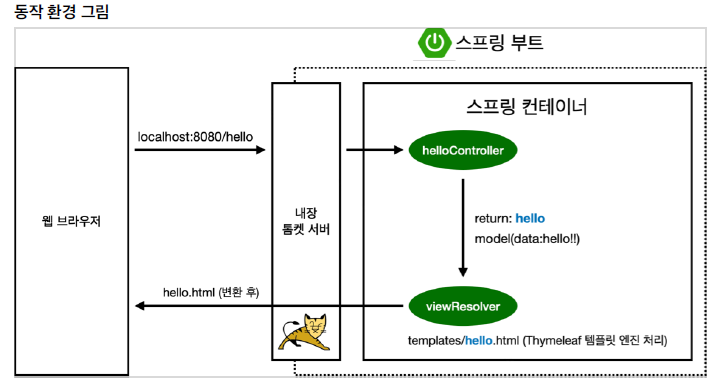
HelloController.java
package hello.hellospring.controller;

import org.springframework.stereotype.Controller;
import org.springframework.ui.Model;
import org.springframework.web.bind.annotation.GetMapping;

@Controller
public class HelloController {
    @GetMapping("hello")
    public String hello(Model model) {
        model.addAttribute("data","hello!!");
        return "hello";
    }
}
templates/hello.html
<!DOCTYPE html>
<html xmlns:th="http://www.thymeleaf.org">
<head>
    <meta charset="UTF-8">
    <title>Hello</title>
<meta http-equiv="Content-Type" content="text/html"; charset="UTF-8" />
</head>
<body>
<p th:text="'안녕하세요. ' + ${data}">안녕하세요. 손님</p>
</body>
</html>

//키는 data, 벨류는 hello!
여기서 th는 타임리프를 뜻한다.
이제 들어가면


이렇게 바뀌는 것임!
참고: spring-boot-devtools 라이브러리를 추가하면, html 파일을 컴파일만 해주면 서버 재시작 없이
View 파일 변경이 가능하다.
인텔리J 컴파일 방법: 메뉴 build Recompile
compileOnly("org.springframework.boot:spring-boot-devtools")
3.빌드하고 실행하기
'Spring > [인프런] 스프링 입문 - 김영한' 카테고리의 다른 글
| [Spring] 회원 관리 예제 - 웹 MVC 개발 (DB연결 없이 입력 및 조회하기) (0) | 2022.11.19 |
|---|---|
| [Spring] 스프링 빈과 의존관계 (0) | 2022.11.19 |
| [Spring] 회원 관리 예제 - 백엔드 개발 (0) | 2022.11.19 |
| [Spring] 스프링 웹 개발 기초 (0) | 2022.11.19 |